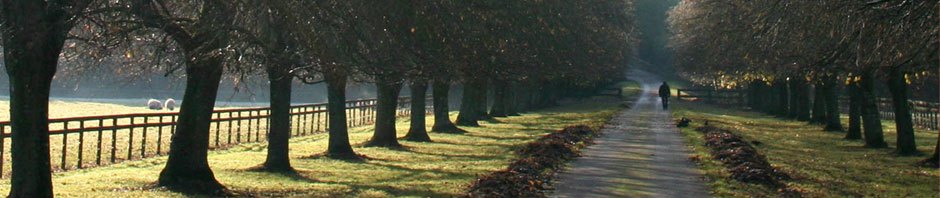
![German paratroopers descend on Crete from their Junkers transport planes [Public domain, Australian War Memorial]](https://secondbysecondworldwar.com/wp-content/uploads/2013/04/Wcrete1.jpg)
German paratroopers descend on Crete from their Junkers transport planes [Public domain, Australian War Memorial]

Lieutenant-General Bernard Freyberg looks out from his dug-out during the Battle of Crete, May 1941
British and Commonwealth forces had withdrawn from the Greek mainland and established themselves on Crete. The Australians and New Zealanders were present in force, together with a 10,000-strong contingent of Greeks. All were under the command of British-born New Zealander, Major-General Bernard Freyberg.
Freyberg had been forewarned (through Ultra) of the German invasion. His troops were in position, although he was expecting the bulk of the invading force to arrive by sea. The Germans suffered extremely heavy casualties, to the extent that the German C-in-C, General Kurt Student, who was overseeing the operation from the Hotel Grande Bretagne in Athens, was being pressured to withdraw his men. Eventually, the Germans took the airfield at Maleme.
German troop convoys attempting to reach Crete continued to be ravaged by the Royal Navy, which suffered loses of its own. The destroyer HMS Juno, and the cruisers HMSs Fiji and Gloucester were sunk. The aircraft carrier HMS Formidable was so badly damaged that she left for US dockyards to undergo repairs.
![Crete: The Battle and the Resistance --- by Antony Beevor (Murray, London, 2005) [Photograph by Edith-Mary Smith]](https://secondbysecondworldwar.com/wp-content/uploads/2013/05/Wcrete2-e1368409040854-193x300.jpg)
Crete: The Battle and the Resistance — by Antony Beevor (Murray, London, 2005) [Photograph by Edith-Mary Smith]
The last of the Allied soldiers to be evacuated left Crete on the night of 1 June. Loses to Allied forces (including naval forces) were appreciable. As for the Germans: they had suffered over 3,000 dead, all picked-men. Over 150 of the Junkers transport planes had been lost.
The German High Command drew the lesson that parachute operations were too risky, and never again used paratroopers on such a scale. The Allied High Command drew the lesson that parachute operations were effective. Later in the war, the Allies would launch large-scale parachute drops in support of the D-Day landings (Operation Overlord) and the crossing of the Rhine (Operation Market Garden).